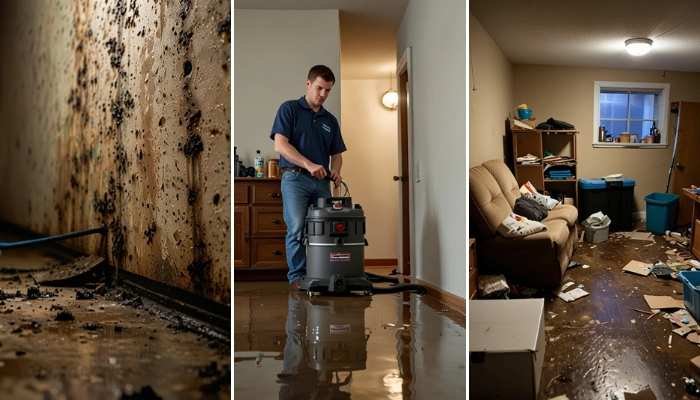
Dealing with a flooded basement can feel overwhelming, but acting quickly can save you time and money.
From removing water to assessing long-term damage, there are steps you can take to restore your basement.
Don’t let the mess cause further stress! In this guide, I’ll show you 23 helpful tips that will get your basement back in shape and prevent future flooding.
1. Assess the Damage Immediately
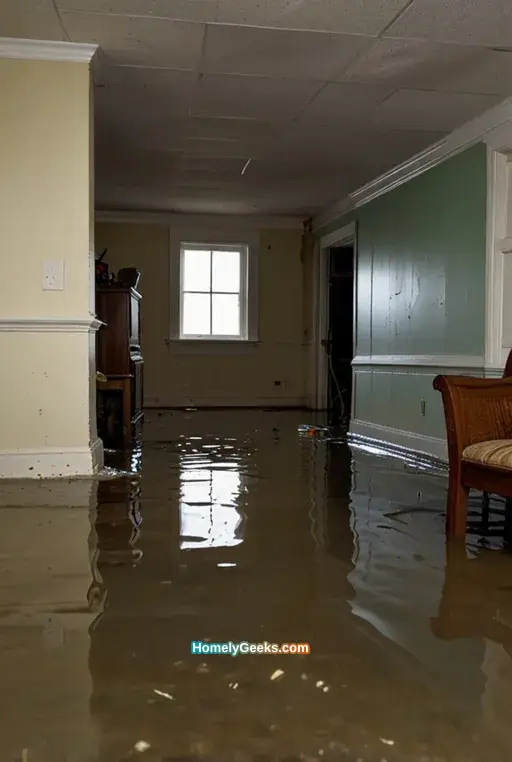
Quickly assessing the damage helps determine the cleanup approach. In this image, a homeowner is evaluating the water level and damage in the basement. Notice the debris and wet carpets, which signal the need for prompt action. Assessing damage immediately can help prevent further structural issues and allow you to prioritize the areas that need attention first.
2. Turn Off Electricity Before Entering

Before stepping into a flooded basement, it’s crucial to turn off the electricity to avoid electric shocks. This image shows someone turning off the fuse box. Water near exposed wiring can pose significant dangers, so shutting off the power supply immediately is one of the first steps in ensuring safety during cleanup.
3. Wear Protective Gear
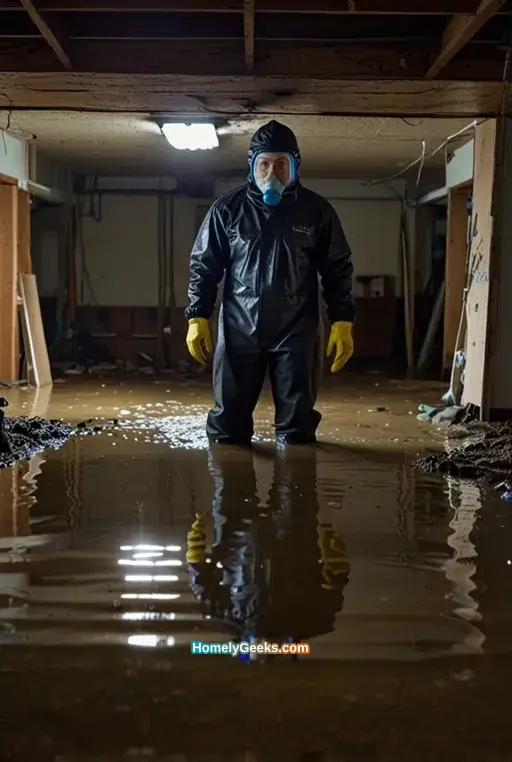
Protective gear is a must when dealing with flooded areas. In this image, the person is equipped with gloves, boots, and a mask to shield against bacteria and mold. Floodwater often contains harmful substances, so wearing the proper protective gear ensures you stay safe while handling cleanup tasks in the contaminated environment.
4. Remove Standing Water with a Pump
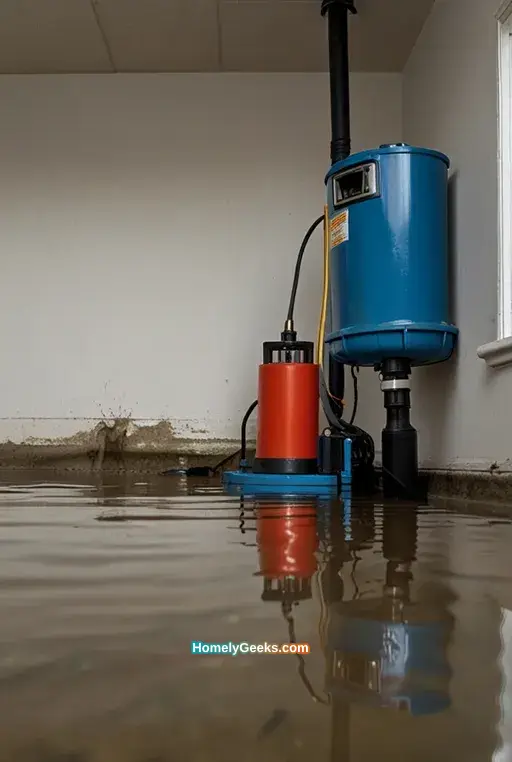
Using a pump to remove standing water is an efficient way to start your basement cleanup. The image shows a submersible pump in use, efficiently extracting the floodwater. Removing standing water quickly helps prevent further damage and makes the area safer to enter for the next steps in the cleanup process.
5. Dry Out the Basement
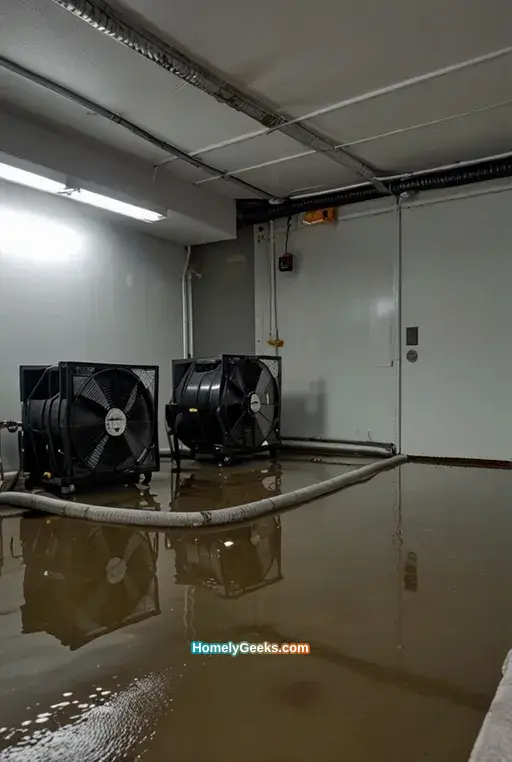
Once the water is removed, drying out the basement is essential. This image shows industrial fans and dehumidifiers working to reduce moisture levels. Drying the space helps prevent mold growth and damage to the structure, which is critical in the aftermath of a flood.
6. Inspect for Mold Growth

Mold thrives in moist conditions, making post-flood inspections critical. The image shows mold growth along the basement walls. It’s essential to check all corners and hidden areas for mold to prevent further health risks. If mold is detected, it’s important to act fast to contain and remove it safely.
7. Remove Wet Carpet and Padding
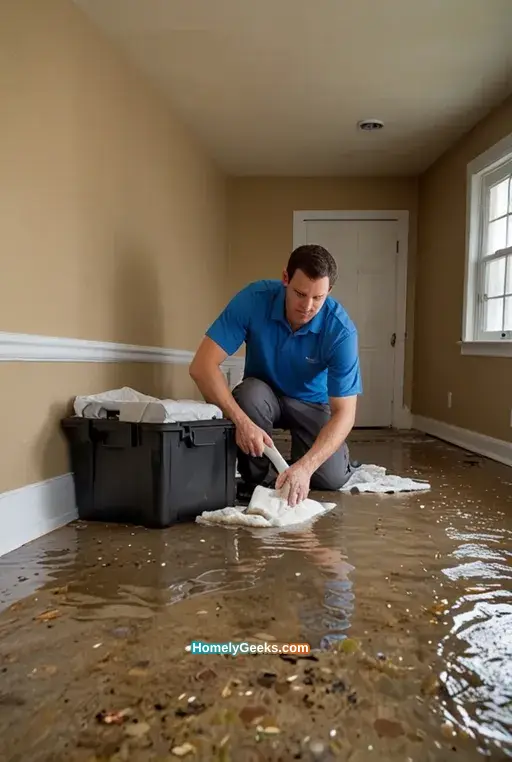
Wet carpets can harbor bacteria and mold, making it necessary to remove them during cleanup. The image shows someone lifting the soaked carpet and padding. Removing these materials prevents further moisture buildup and ensures the basement is thoroughly dried out to avoid long-term issues.
8. Clean and Disinfect the Area

After removing debris and moisture, cleaning and disinfecting the basement is necessary to remove contaminants. The image shows someone scrubbing the floor to ensure all areas are sanitized. Using disinfectants ensures the removal of harmful bacteria and prevents further contamination in the space.
9. Dry and Clean Belongings

After removing water from the basement, it’s time to salvage any belongings that were affected. This image shows various items drying outdoors after being cleaned. Depending on the extent of the damage, many items can be saved with proper care, drying, and cleaning methods.
10. Check Foundation for Cracks
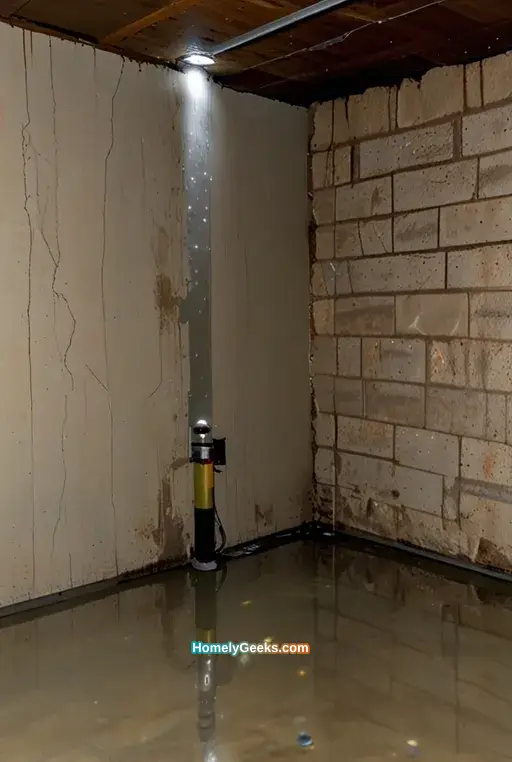
Inspecting the foundation for cracks is essential after flooding. The image shows visible cracks in the basement foundation with water seeping through. Small cracks can lead to future flooding, so addressing these issues promptly is necessary to prevent long-term water damage.
11. Clear Debris and Damaged Furniture

Debris and damaged furniture should be cleared out as part of the cleanup. This image shows the effort of removing damaged items from the basement. Clearing the area helps improve airflow, reduces the risk of mold, and makes the cleanup process easier and more efficient.
12. Address Sewer Backup Issues

Sewer backups can complicate basement flooding cleanup. In this image, a plumber is clearing sewage water from the basement. If this occurs, professional help is often needed to handle sewage safely and properly, as it involves hazardous waste that requires thorough sanitization.
13. Drywalls and Insulation Removal

Wet drywall and insulation can absorb water, leading to mold and further damage. The image shows someone removing soaked drywall and insulation. Removing these materials helps prevent long-term structural damage and reduces the risk of mold in the basement.
14. Use a Wet/Dry Vacuum for Smaller Water

For smaller amounts of water, a wet/dry vacuum is an efficient tool. The image shows someone using a vacuum to pick up water from the basement floor. It’s especially useful for areas where larger pumps cannot reach, helping ensure every last bit of water is removed.
15. Check for Mold in Hidden Areas

Mold can hide in the unseen corners of your basement. In this image, a flashlight reveals mold on the beams and insulation. Hidden mold can cause health problems, so it’s essential to inspect all areas, including crawl spaces and behind stored items, to ensure thorough cleanup.
16. Remove and Replace Damaged Flooring

Flooded basements often result in damaged flooring. The image shows laminate flooring being pulled up due to water damage. Replacing flooring is necessary to restore the basement to a dry, livable condition and ensure the space is safe for future use.
17. Ensure Proper Ventilation

Proper ventilation is key to drying out your basement. In this image, windows are open and fans are positioned to circulate the air. Ventilation reduces moisture buildup, making the space less likely to develop mold or other water-related damage.
18. Evaluate and Repair Plumbing

After a basement flood, checking the plumbing for damage is essential. The image shows a plumber inspecting the basement pipes for leaks and issues. It’s important to repair any broken plumbing to prevent future flooding and ensure the home’s water systems are functioning properly.
19. Test for Proper Drainage
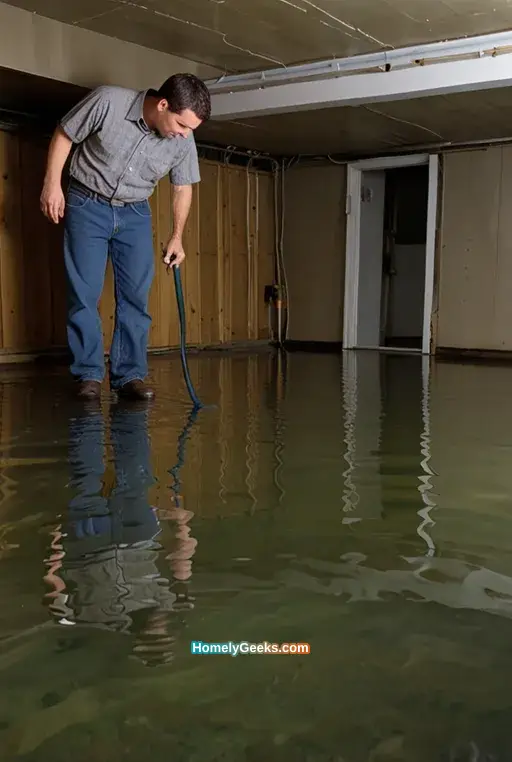
Testing the drainage system ensures that water can flow away from the basement properly. This image shows a homeowner testing the drain after flooding. Ensuring proper drainage prevents future flooding and protects the basement from long-term water damage.
20. Check for Structural Damage

Flooding can cause structural damage that might not be immediately visible. In this image, a person is inspecting the wooden beams for signs of warping and water damage. Checking for structural damage is crucial to ensure the long-term safety and integrity of the basement.
21. Sanitize All Surfaces Thoroughly

Sanitizing all surfaces is a key part of the cleanup process. This image shows a person wiping down exposed beams and concrete walls with disinfectant wipes. Thorough sanitation prevents bacteria and contaminants from spreading, keeping your basement safe and clean.
22. Use Mold-Resistant Paint

Applying mold-resistant paint helps protect against future mold growth. In this image, a person is painting basement walls with a special mold-resistant coating. This preventative measure ensures that moisture and humidity won’t lead to mold issues down the line.
23. Restore Your Basement to Its Original Use

Once the cleanup is done, you can restore your basement to its original use. The image shows a beautifully restored basement with new furniture and fresh paint. With all the damage addressed, the space is now clean, dry, and ready for future use.
Conclusion
Getting your basement back to normal after a flood takes time, but following these 23 tips can make the process easier. By staying proactive with repairs, cleaning, and moisture control, you can protect your home from further damage. Once the cleanup is done, your basement will be safe, dry, and ready for use again.

